
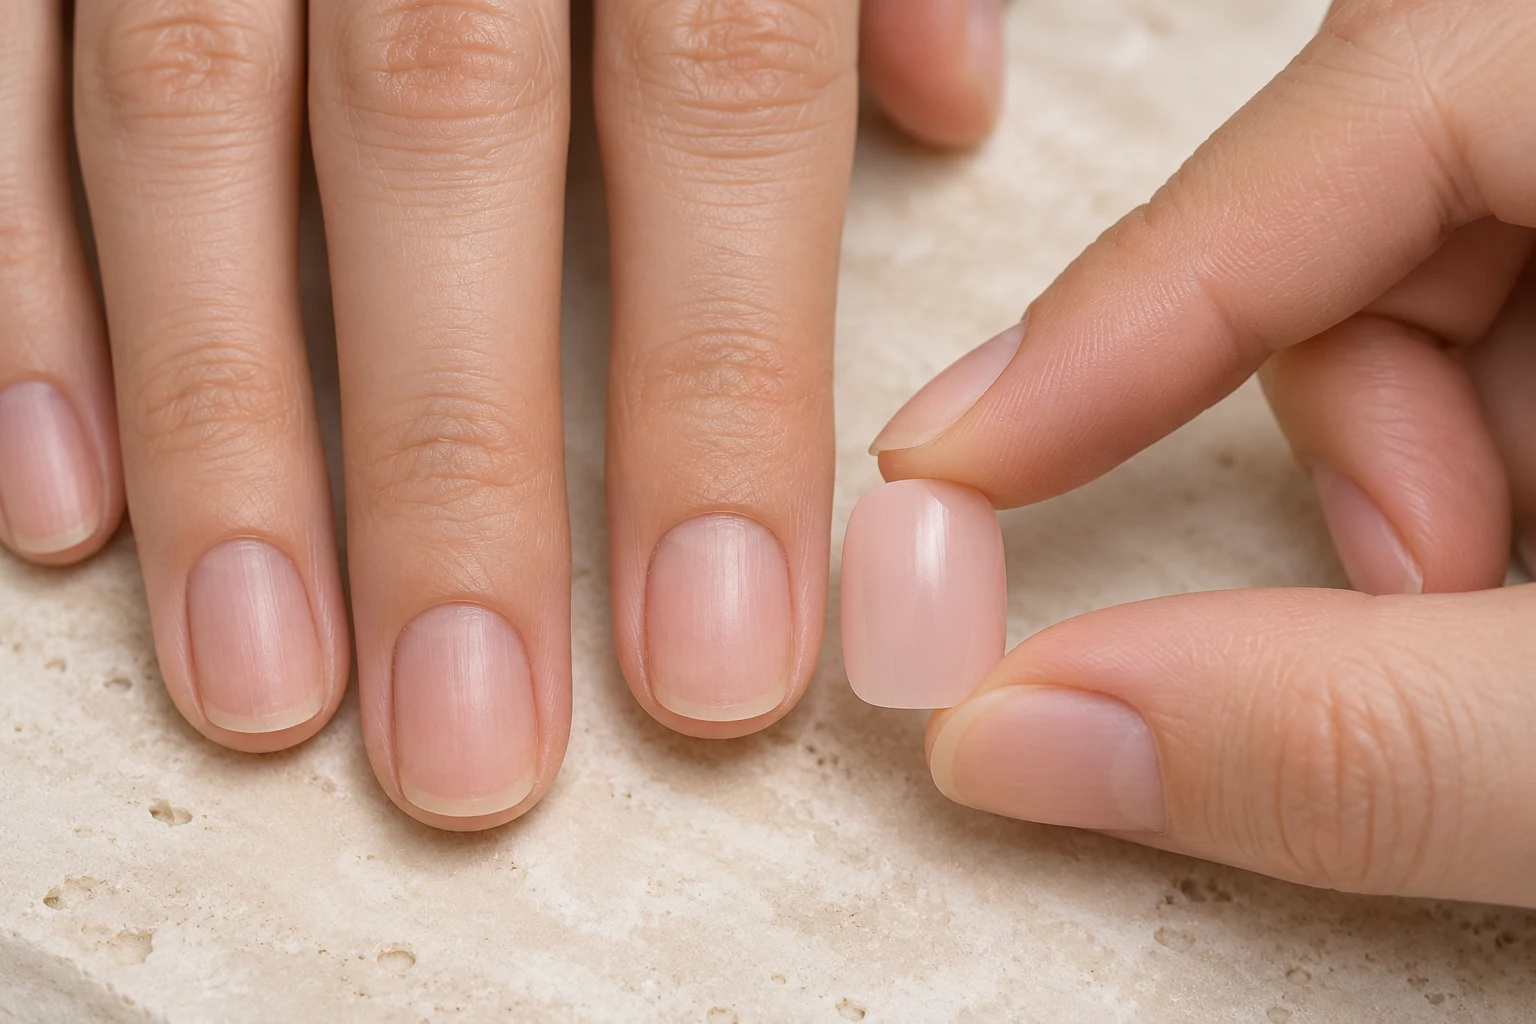
Inspect a new press-on set before you apply adhesive, remove protective parts, or file the tips. Check the order details first, then look at each nail and try the intended sizes on your fingers without glue.
A short inspection gives you time to spot a missing size or damaged decoration while the set is still in its delivered condition.
Match the package to the order
Confirm the style, shape, length, and selected sizing option. Count the tips and compare the included supplies with the product description. For a custom set, lay the nails out in the same finger order as your saved size record.
Keep the packaging and any size labels until you have checked everything. If an item appears missing or damaged, take clear photographs before trying to fix it. Follow the seller’s contact process while the original condition is easy to document.
Look at the tip from several angles
Use good light and turn each nail gently. Check the cuticle edge, sidewalls, and free edge for chips, splits, sharp points, or rough projections. Look underneath for an obstruction that would interfere with its intended contact surface.
Distinguish the intended design from a possible defect. A textured finish may be deliberate; a loose decoration or a crack extending through the shell needs a different conversation. Do not pull hard on a decoration to test it, since that can damage an otherwise usable nail.
Dry-fit before committing
Place each selected tip over its natural nail without adhesive. The shell should cover the nail comfortably without sitting on surrounding skin. Check that its curve can meet the natural nail without squeezing the sides or requiring constant pressure.
Compare neighboring fingers once the sizes are selected. A nail can fit across the width yet look misaligned because its cuticle outline or free-edge direction differs from the rest. Move it slightly during this dry check to see whether alignment solves the issue.
Check your view of the color
Look in ordinary room light as well as near a window. Reflective and translucent finishes change with lighting and background. If you are choosing an outfit or matching an event detail, use the lighting where you will actually wear the nails.
A screen image is a useful reference, but its display settings cannot provide an exact color measurement. Describe a concern with a photo and the order details rather than assuming every visible shift is a manufacturing fault.
Decide before altering the set
If the fit is suitable, keep the selected tips in finger order and read the adhesive directions. If there is a problem, ask about the available remedy before filing or applying the nail.
Save the confirmed size numbers only after a successful fit check. Keep spare sizes separate from the ones you plan to wear, so they do not get mixed up halfway through application.