
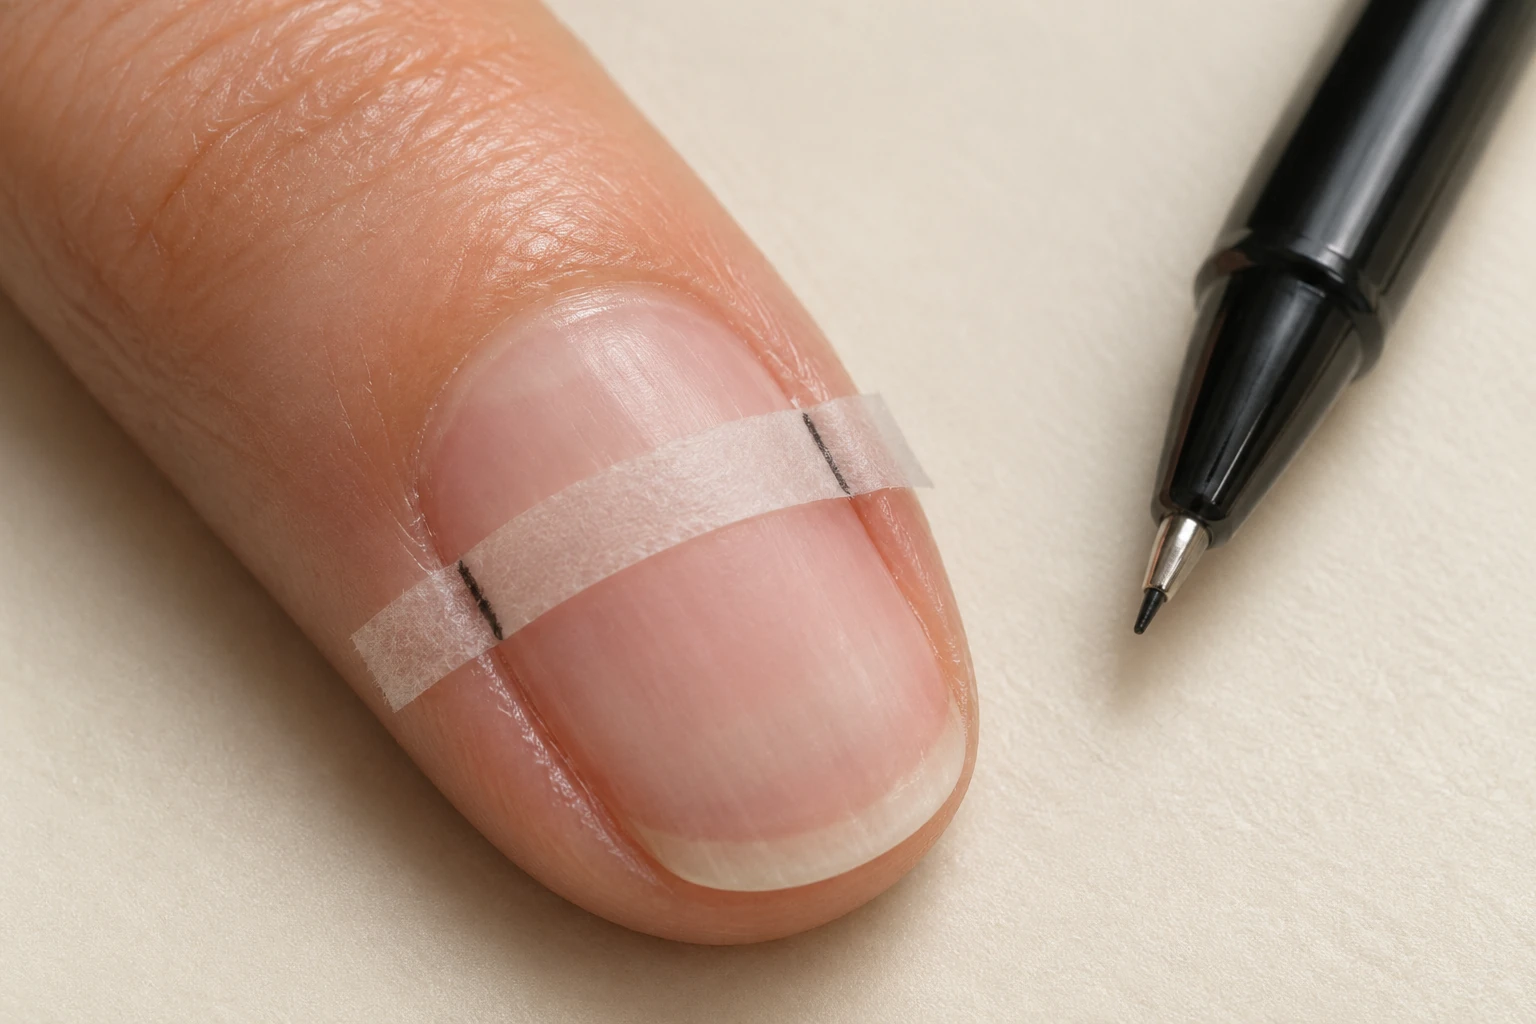
Wide and narrow are relative terms. The useful question is whether a particular tip covers your natural nail comfortably with a suitable curve.
Measure both hands and compare the actual size range. A high piece count does not guarantee that the widest or narrowest piece will suit you.
For a wider nail
Check the largest available width and the chart’s measuring method. During dry fitting, inspect the side edges as well as the center.
Do not choose an undersized tip to create a narrower look. If it leaves the sides uncovered or squeezes the nail, choose another size or range.
For a narrower nail
Check the smallest sizes and the shape of the cuticle edge. A tip can look small from above but still extend onto the side skin.
Ask whether limited side filing is permitted. Filing a wider tip may change the outline or artwork; it does not necessarily correct an overly deep curve.
Check thumbs and little fingers separately
These may reveal the limits of a size range even when the middle sizes fit. A standard letter-size bundle may include one piece you cannot use comfortably.
Look for mixed-size orders or replacements when available. Record the exact code for each hand instead of assuming symmetry.
Use a sample kit when the choice is uncertain
A sample in the actual base shape lets you assess width, curve, and cuticle outline before committing to a decorated set.
Confirm whether the samples match the shape and length you plan to order. Trying a different base cannot fully establish the fit of the final style.
Keep a fitting record
Note the product, size number, permitted adjustment, and result. Include which part was wrong if a piece did not fit: side coverage, pressure, curve, or cuticle shape.
Those notes help you choose another range without repeatedly buying the same mismatch.