
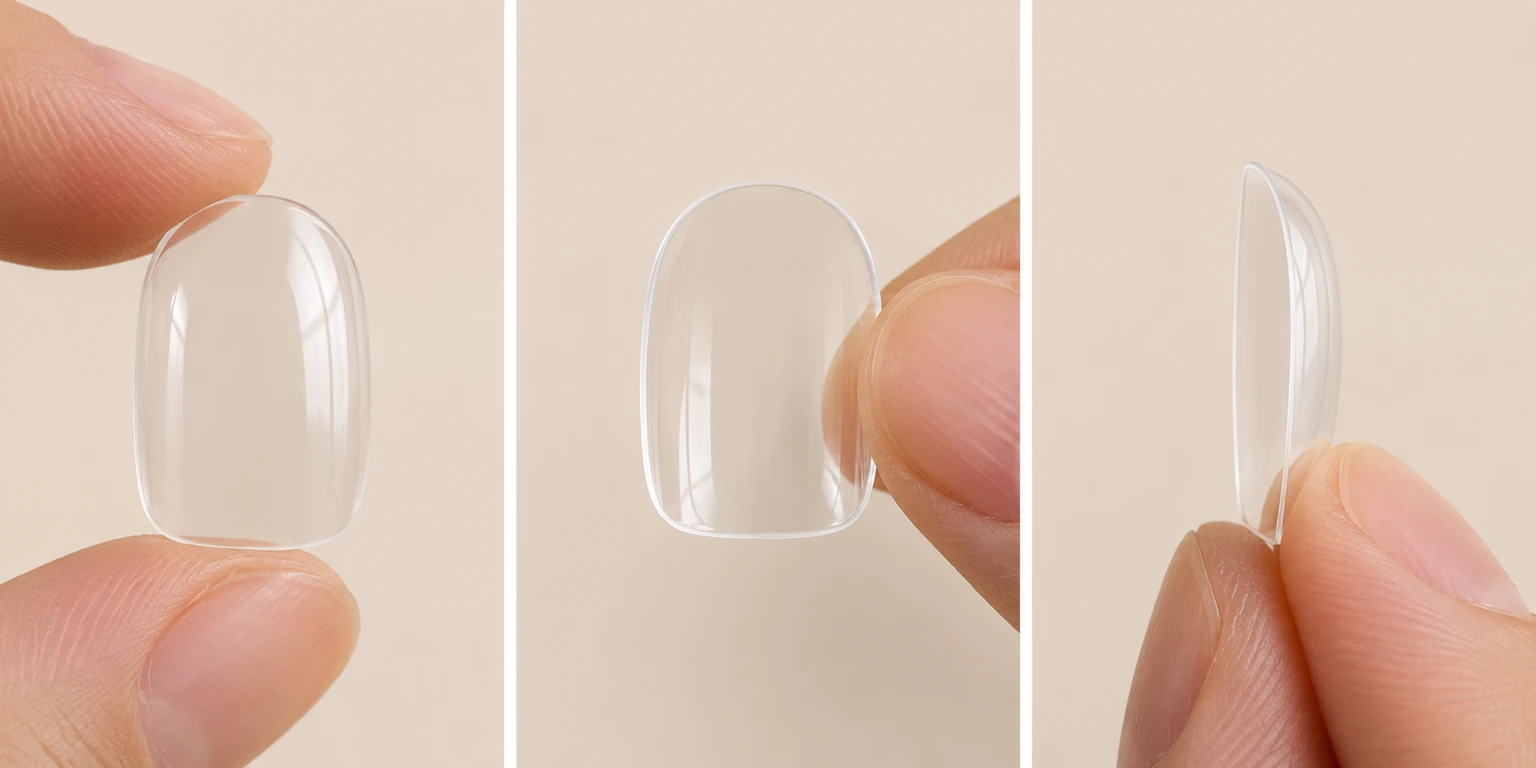
If a tip has the right apparent width but needs pressure to sit flat, curvature may be part of the problem. A flatter natural nail may not match a deeply arched preformed tip.
“Flat nail bed” is a descriptive shopping phrase, not a medical diagnosis. Describe what you can see during a dry fit.
Check without adhesive
Place the tip over the nail gently. Look from above for coverage, from the front for the crosswise curve, and from the side for rocking or gaps.
If it only sits in position while you squeeze it, try another fit. Do not use pressure from the adhesive bond to force an uncomfortable tip into shape.
Separate width from curve
A wider tip may reduce pressure at the sides, but it can also overlap skin. A size change does not guarantee a better curve match.
Ask whether the range offers a flatter profile or another shape built on a different base. Clear underside and free-edge photos are useful when discussing options.
Be cautious with gap-filling tricks
Adding layers of tabs or excessive glue changes the attachment system. Only use adjustments supported by the nail and adhesive instructions.
If a combination leaves a large unsupported gap, switch to a better-fitting tip. Do not keep adding adhesive until the top view looks smooth.
Avoid heating the tip
Hot-water and hair-dryer tricks do not establish that the material and coating can tolerate reshaping. Heating can also alter the size or decorative finish.
Ask for an appropriate base shape rather than modifying an unfamiliar product with heat.
What to send for fitting advice
Provide the style, size, and photographs from the front and side with no adhesive applied. Explain whether the tip rocks, leaves a central gap, squeezes the sides, or overlaps skin.
If your natural nail shape has changed unexpectedly or is painful, seek medical advice before treating it as a sizing issue. A fit problem and a nail condition can look similar in a quick photo.