
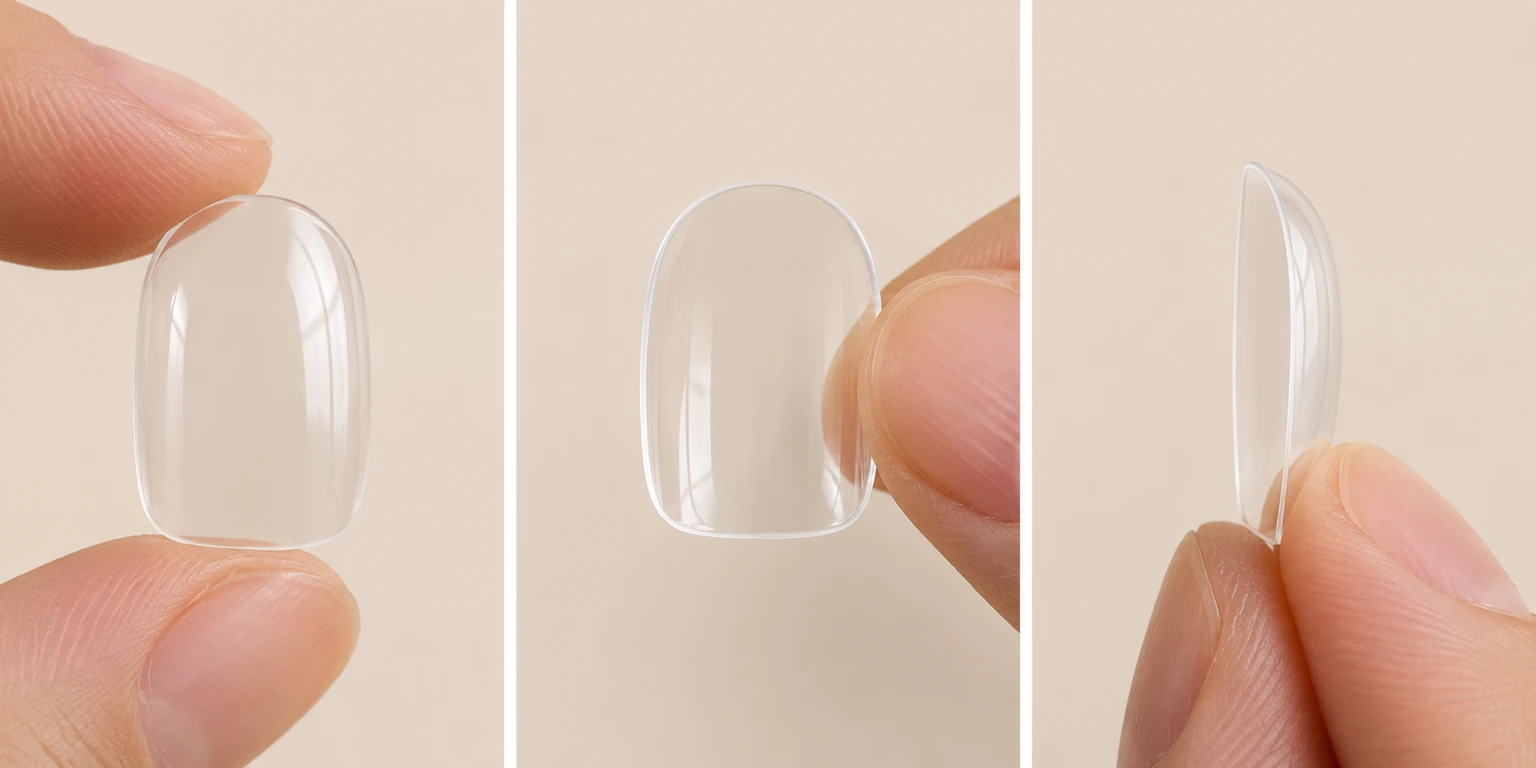
Inspect a new set before applying adhesive. A dry nail is easier to turn over, compare, and photograph if you need help with a defect.
Use ordinary daylight or a bright diffuse lamp. You are looking for visible finish and fit issues, not trying to identify the material from its appearance.
Start with the edges
Look around the cuticle end, both sidewalls, and the front edge. Notice rough projections, sharp corners, cracks, or coating that extends unevenly beyond the body.
Keep a rough piece away from skin while checking it. Do not run a sharp edge across your cuticle to see whether it catches.
Turn the nail over
Check the inner surface where the adhesive is meant to sit. A pre-applied adhesive is expected on some products; unexplained residue or damage on a different kind of set is a reason to ask the seller.
Look for distortion or damage that could prevent the nail from resting evenly. The underside can reveal an issue hidden by the artwork.
Check the finish and decorations
Inspect for peeling areas, cracks, obvious bubbles, or a rough finish. With decorative pieces, look at their edges and attachment points without pulling on them.
A little variation in hand-painted detail can be intentional. A loose ornament or a sharp projection affects use, regardless of whether the art is handmade.
Separate a defect from a fit mismatch
An intact tip can still be the wrong width or curve for your finger. During dry fitting, check whether it covers the nail surface without overlapping skin or requiring pressure to flatten.
Take separate notes for damage and sizing. A replacement in the same size may solve a cracked piece but will not necessarily fix a curve mismatch.
Before filing or contacting support
Photograph the issue from the front and side and keep the packaging. Include the style, size number, and which finger you were fitting.
Ask whether the area can be modified and whether modification affects replacement options. Avoid sanding an unknown coating, heating the tip, or adding glue to hide a defect.
If an edge is unsuitable for wear, set that piece aside. Clear photos taken before modification make the next step easier for both you and the seller.