
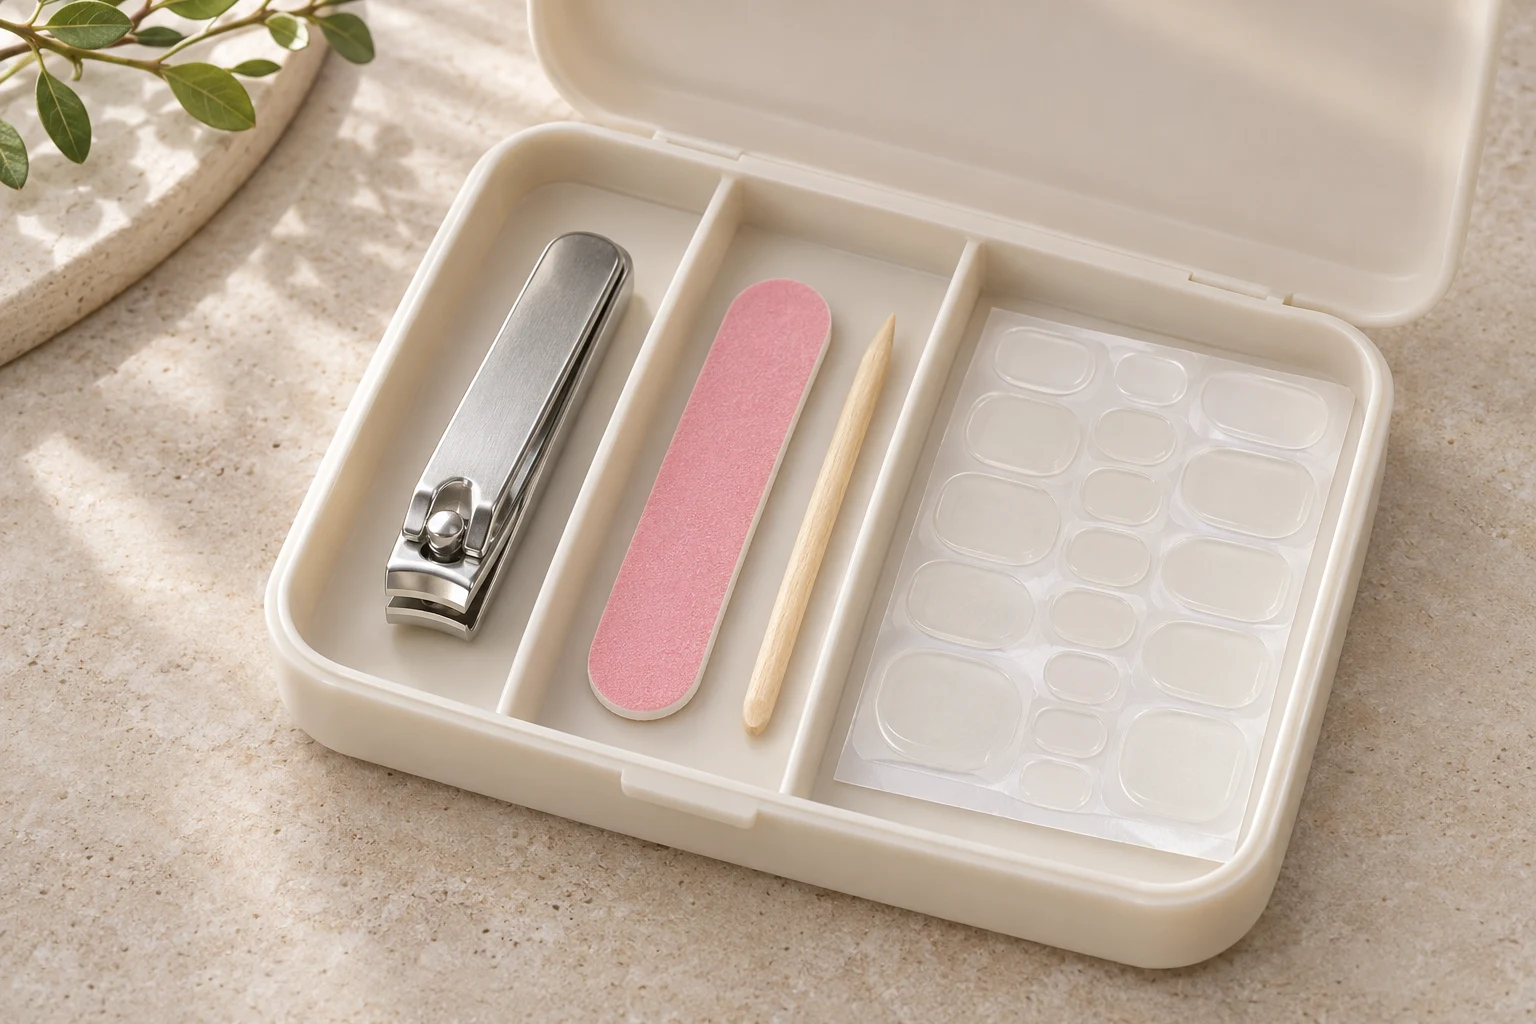
Travel with a small, clearly organized nail kit and a plan for removal as well as application. Pack only the products you understand how to use. An unfamiliar bottle in a hotel room is a poor starting point for fixing an uncomfortable nail.
For flights, check the exact glue, remover, tools, and container sizes against current security and dangerous-goods rules before packing.
Check liquids and adhesive separately
The TSA travel checklist describes the carry-on liquids rule, including containers no larger than 3.4 ounces. A small container still needs to meet the applicable rules for its contents.
The FAA’s adhesive guidance distinguishes nonflammable, nontoxic glue from flammable adhesives. Do not assume every nail glue belongs to one category. Read the product information and check the current FAA, TSA, airline, and destination requirements when applicable.
Keep products identifiable
Use original labeled containers with secure closures. Avoid pouring remover or glue into an unlabeled cosmetic pot. Keep liquids away from spare nails and documents in appropriate protective packaging that complies with travel rules.
Review the storage warnings for temperature and ignition sources. A hot parked vehicle or a cramped location near a heat source may conflict with those directions. Keep products out of children’s reach at your accommodation too.
Protect the selected tips
Store spare nails in a rigid compartmented case, separated from sharp tools. Label the size and finger position if the set has a custom arrangement. Keep unused tabs on their backing in the original protective pack.
Bring your confirmed size record or a photograph of it. That helps if you need a replacement later, especially when several similar plain tips look almost identical outside their labeled compartments.
Include a realistic removal plan
Check whether you can bring the approved remover and supplies or obtain suitable products at your destination. If not, consider an attachment method whose removal fits the trip, or a different application schedule.
A bottle of glue alone cannot solve a lifted nail. You may need to remove the tip, inspect the natural nail, and prepare a fresh application. Do that in a stable, suitable workspace with the ventilation and precautions the product requires.
Match the manicure to the itinerary
Consider luggage handling, swimming, gloves, outdoor equipment, and any work rules. Try the length with your usual bag closures and travel documents before departure. Avoid making a dramatic length change immediately before a trip if you have no time to check those tasks.
If a tip becomes painful or unstable while away, prioritize addressing it over preserving the complete look. Keep the product instructions accessible offline so a weak signal does not leave you guessing about removal.
Leave time before departure to resolve any unclear restriction with the relevant authority rather than relying on a general packing list.