
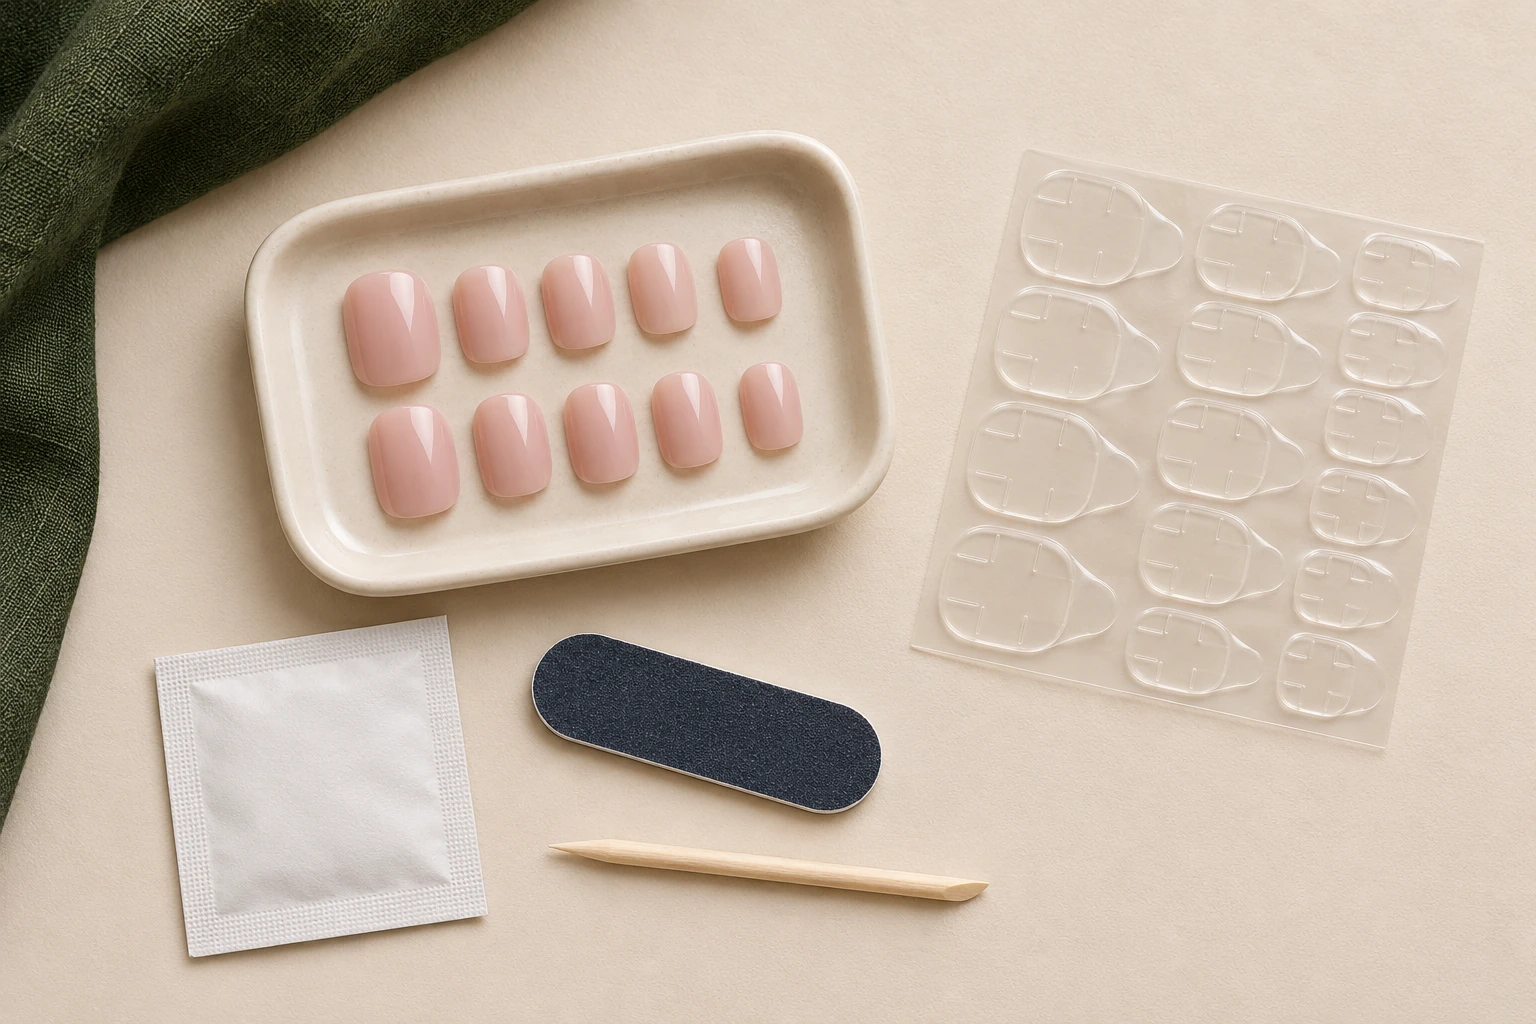
Pre-glued press-on nails arrive with adhesive already applied to the underside. Usually, you remove a protective liner and press the nail into position using the supplied directions. The exact liner, preparation, and pressing steps vary, so read the instructions before removing anything.
Pre-glued describes how the adhesive is supplied. It does not guarantee a particular wear time, easy removal with any method, or that the same adhesive can be used again.
Check that the adhesive is actually pre-applied
A kit that includes a separate sheet of adhesive tabs is different from nails that already carry adhesive. Product descriptions sometimes emphasize quick application without making that distinction clear. Look for a photograph of the underside or written steps that explain what you peel.
A finished nail may also be sold without any adhesive. Confirm the contents rather than assuming every ready-to-wear design is ready to attach straight out of the box. If you receive an unfamiliar format, keep its packaging until you understand the system.
Size the nails before exposing adhesive
Arrange a suitable nail for each finger while the protective liners are still in place, where the instructions allow dry fitting. Check that the press-on covers your natural nail without resting on surrounding skin. It should not need force to match the curve.
Keep the selected nails in order. Once a liner is removed, handling and rearranging the nail becomes more awkward, and touching the adhesive can introduce residue. A quick photo of the layout helps if you need to pause during preparation.
Follow the liner sequence
Some liners have a small pull tab; others use a film or backing that must be lifted in a particular way. Remove only the protective layer identified by the directions. Do not scrape away the adhesive because it looks like packaging.
If the adhesive surface is missing, damaged, or contaminated before use, set that nail aside and ask for guidance. Adding liquid glue over the factory adhesive is not an automatic repair. Only combine products if the manufacturer explicitly specifies that method.
Read wear and removal as a pair
The expected wear limit belongs to that product and application method. Do not transfer a wear promise from a separate glue or another pre-glued set. Daily activities and fit can still affect how the nails behave.
Removal should also follow the supplied method. A pre-applied pad does not mean the nail should be peeled off forcefully. Have the required supplies ready and allow the release process to work. If removal is painful or the nail remains firmly attached, pause rather than pulling harder.
Reuse is a separate question
A nail shell may remain intact after removal while the adhesive is no longer suitable for another application. Check whether the instructions allow reuse and, if so, how the old adhesive is removed and what replaces it.
Do not store a removed nail with exposed used adhesive against other clean nails. Keep any reusable pieces separate until they have been cared for as directed. If the listing does not explain a second application, treat reuse as unconfirmed. The convenience of the first application should not be stretched into an unsupported promise about later ones.