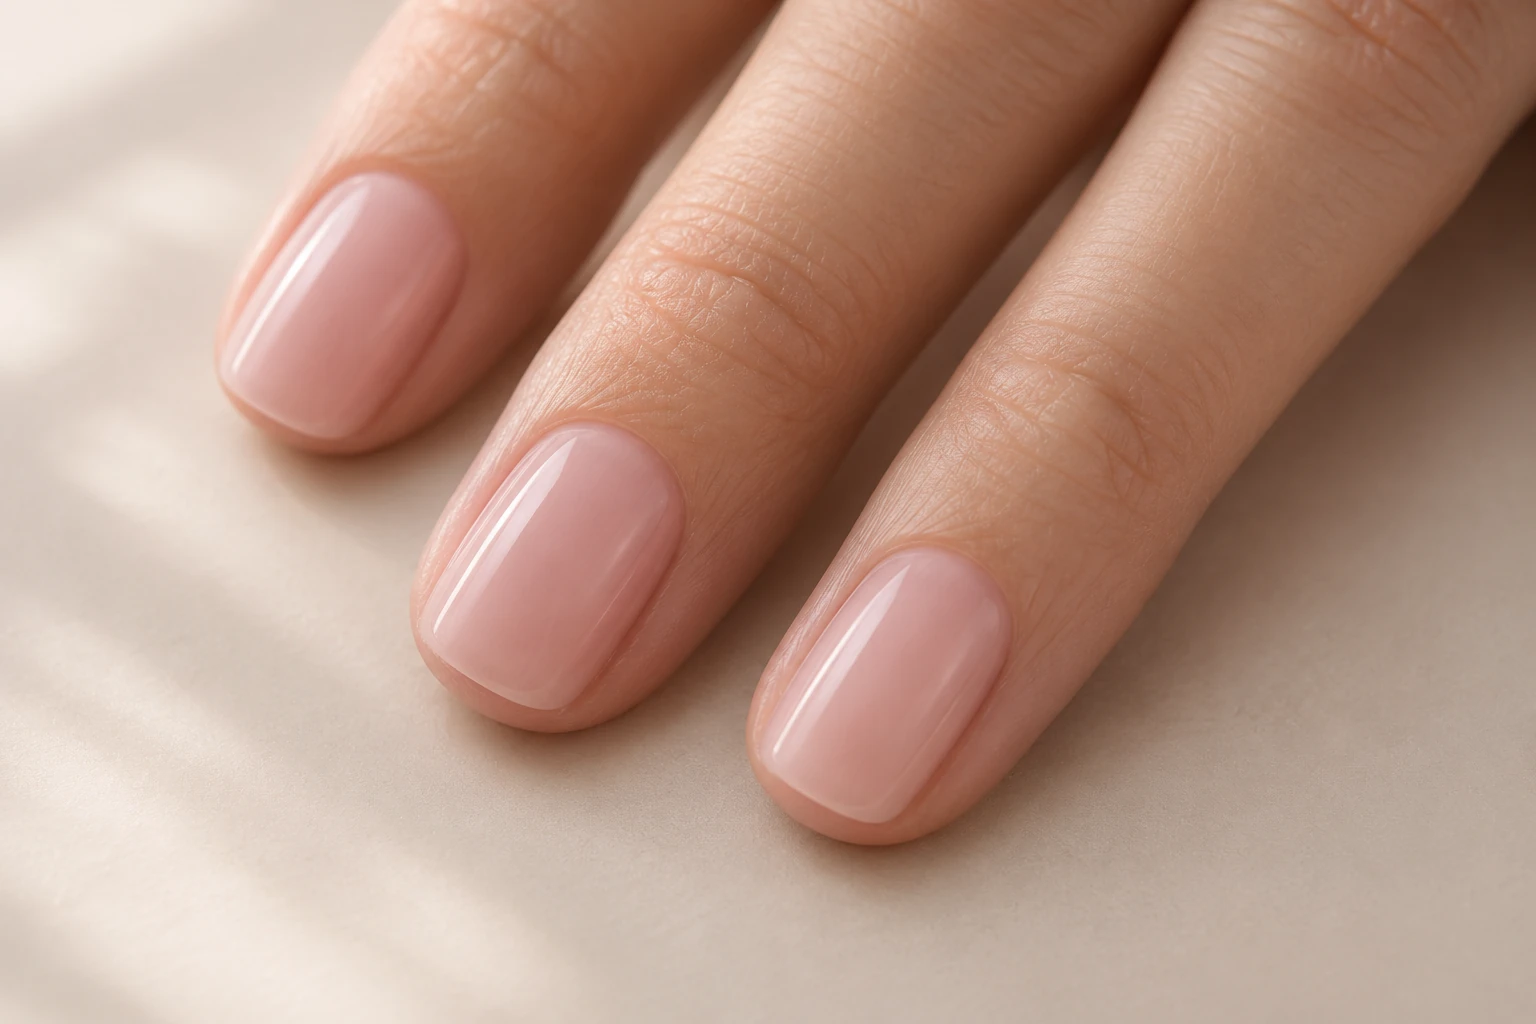
Press-on nails are preformed nail covers that you attach over your natural nails. They arrive with their shape already made; many sets also have the color and artwork finished. The attachment may use adhesive tabs, liquid nail glue, or a pre-applied adhesive.
That description covers a wide range of products. A set meant for a short event can have different application and removal instructions from another set intended for longer wear. Start with the directions that belong to the set in your hands.
What makes a press-on different?
The nail is shaped before it reaches your finger. With a traditional manicure, color is applied directly to your natural nail. Other enhancement systems build or attach an extension using their own products and procedures.
A clear full-cover tip is also preformed, but it may be part of an extension system that needs additional coating or curing. Check whether you are buying a finished ready-to-attach set or supplies for a nail service.
The three choices that affect your experience
First, consider fit. Each press-on needs to cover the natural nail without resting on the surrounding skin. Width is only part of that match: a deeply curved tip can sit awkwardly on a flatter nail.
Next, choose a useful length. Your own nail bed affects how far a press-on projects beyond the fingertip. A style called “short” may look different on two people, so measurements and side-view photographs are useful.
Finally, check the adhesive. Tabs and liquid glue are different products. A kit containing both does not automatically instruct you to layer them together. Use the combination and sequence described in its directions.
What to do before opening the adhesive
- Read the application and removal instructions.
- Check that your natural nails and surrounding skin are comfortable and intact.
- Try the sizes on both hands and arrange a match for every finger.
- Gather the specified removal supplies so they are available later.
If a press-on hurts during the dry fitting, choose a different size or shape. Adhesive is not a solution for a tip that needs to be forced into position.
How long can you wear them?
There is no single wear time for all press-ons. The nail, adhesive, application, and daily activities form a system, and the product’s stated wear limit applies to that system.
A nail staying attached does not mean it should remain on indefinitely. Check for lifting or discomfort and follow the removal instructions when wear ends. Do not pull off a firmly attached nail to speed things up.
Can they damage natural nails?
Preparation, chemicals, and removal all deserve care. The American Academy of Dermatology advises against using artificial nails to hide an existing nail problem. If your nails are painful, unusually discolored, or separating, seek advice before covering them. AAD manicure safety guidance
For a first set, clear directions and a comfortable dry fit are useful starting points. You can then choose the color and artwork you enjoy without guessing how the nails are meant to work.