A useful press-on toolkit covers four jobs: checking fit, preparing as directed, attaching the nails, and removing them correctly. You do not need a large collection of salon equipment for a finished set. Start with the instructions and gather only the supplies that process actually calls for.
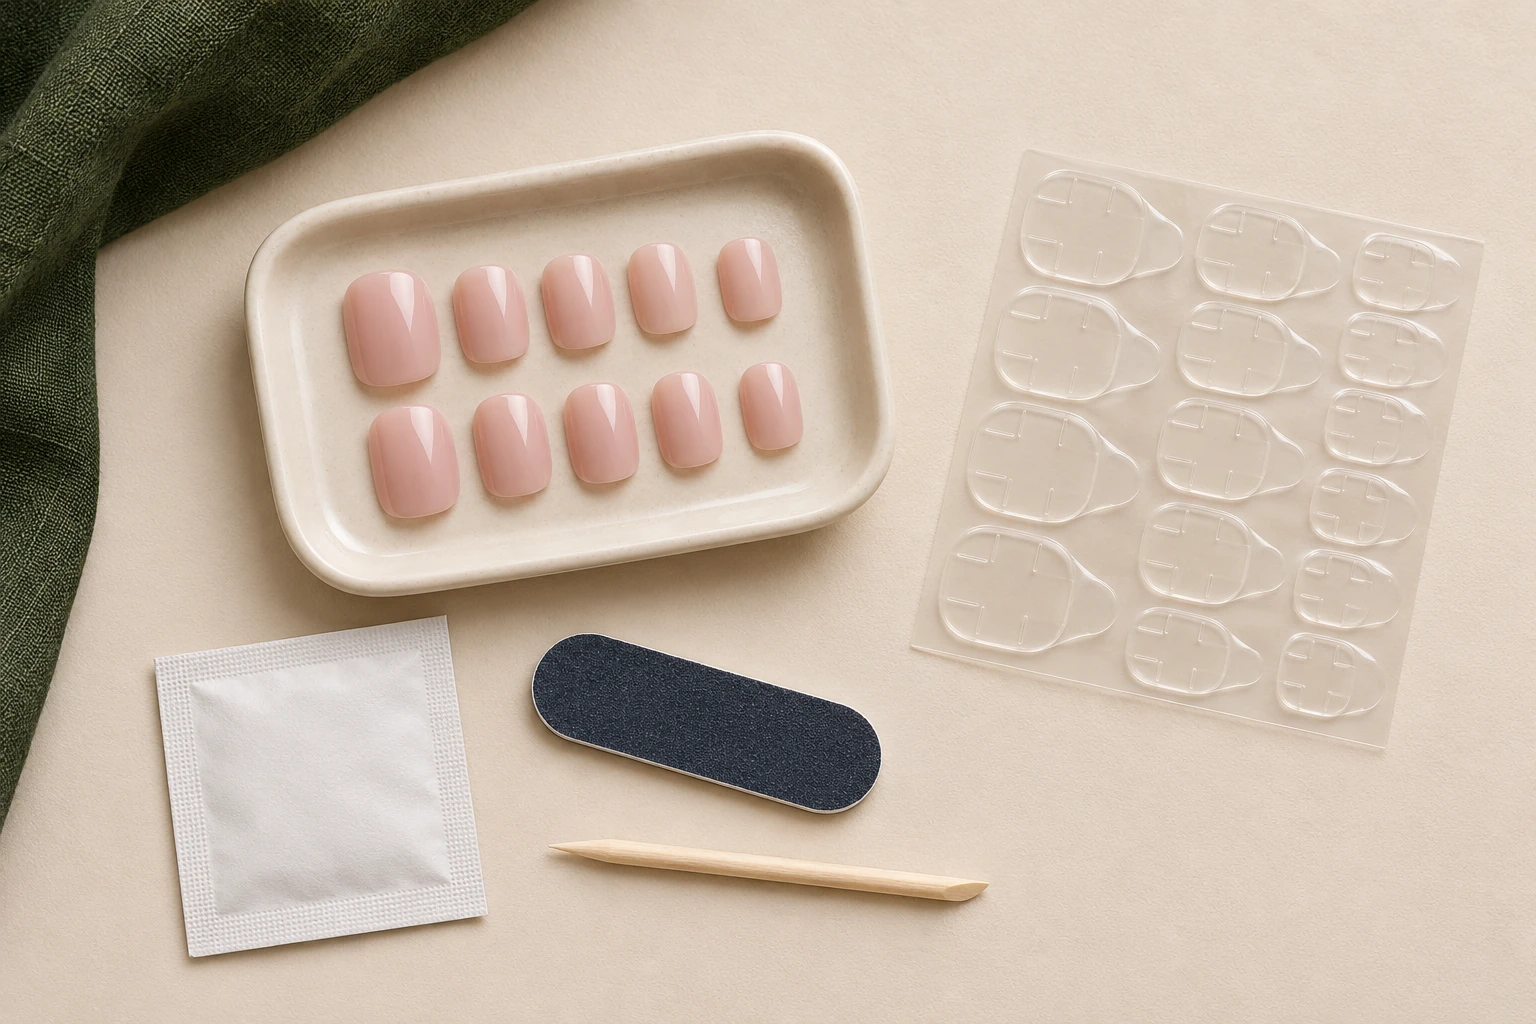
Check the box contents before buying extras. Some sets include adhesive and basic tools; others contain only nails. A preparation wipe or file appearing in a product photo does not always mean it is included.
A clean place to arrange sizes
Use a clean, well-lit surface with enough space to lay out both hands in order. Dry-fit every nail before opening adhesive. A small tray or clean mat helps keep the chosen sizes from getting mixed up.
Measurements or a sizing record can be useful for future purchases, but do not assume size numbers transfer between brands or shapes. Fit the actual nail, including its curvature. A ruler alone cannot tell you whether a deeply curved press-on will sit comfortably on a flatter natural nail.
The specified adhesive and preparation supplies
Have the glue, tabs, or pre-applied adhesive system intended for your set. Do not combine them unless the instructions specify the combination. Keep any prep product identified by the directions available, and check whether it has its own warnings.
More preparation is not automatically better. Do not add a primer, dehydrator, or aggressive roughening step from an unrelated nail system. A finished press-on routine should not expand simply because extra bottles are available.
A suitable hand file, if needed
A hand file may be useful for natural nail shaping or a permitted adjustment to a press-on. Those are different jobs and may call for different abrasives. Check the file's intended use and the finished nail's modification instructions.
An electric drill is not an essential purchase for applying finished press-ons. Removing old material or reshaping near a natural nail with powered equipment requires more skill than a basic attachment routine. Do not use one to speed up a process you do not yet understand.
Gentle tools do not justify aggressive work
A wooden stick may be supplied for a specific application or removal step. Use it as described, without digging beneath attached nails or scraping the natural nail. Metal implements are not necessary substitutes just because they look more professional.
Avoid cutting the cuticle as a routine preparation step. CDC notes that cuticles help provide a barrier against infection and advises cleaning nail grooming tools before use. CDC: Nail hygiene Keep used tools separate from the clean items you will use next.
Removal supplies belong in the kit from day one
Read the removal directions before the first application and obtain the required products. Have a clean container or other accessories only if that method needs them. Check whether the remover can affect the press-on finish or decorations.
Store the original adhesive and remover labels where you can read them later. A toolkit is complete when you can carry out the whole routine as directed, including stopping wear. Once that is covered, add optional items only when they solve a real problem in your own application process.