
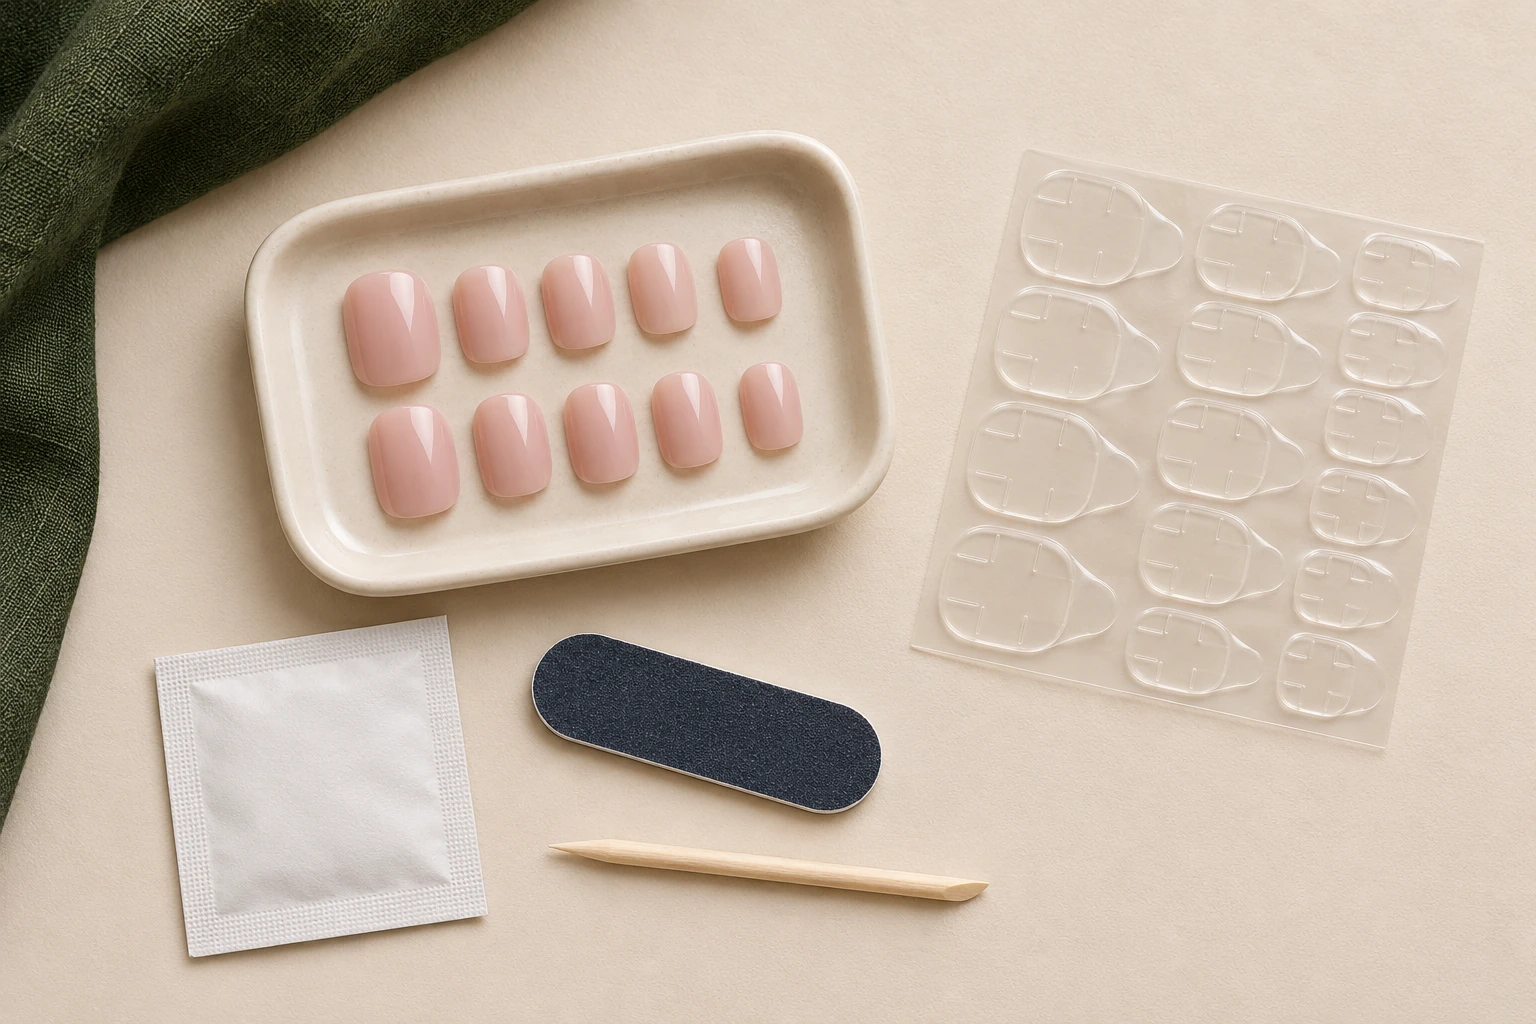
A nail file shapes an edge or removes material with an abrasive surface. A buffer is generally used to change the surface texture or shine. Both can remove nail material, so the useful question is what the tool is intended to do and whether that step is needed for your application.
Do not treat every file in a kit as suitable for both a natural nail and an artificial tip. Check the file description and the press-on instructions before using it.
What grit numbers mean
A lower grit number generally indicates a coarser abrasive; a higher number generally indicates a finer one within comparable file systems. A double-sided file may list two numbers, one for each face. Color and thickness are not reliable substitutes for that information.
There is no single grit recommendation that fits every natural nail, press-on material, and task. A coarse file intended to remove artificial material should not be adopted as routine natural-nail preparation. If a supplied file has no stated grade, use it only for the task described by the kit rather than guessing its abrasive strength.
Shaping and buffing are different jobs
Shaping works on the free edge to adjust an outline. Buffing works across a surface. A surface can look smoother or duller after buffing because material has been removed; that does not mean it needed the treatment.
AAD explains that filing the natural nail surface during some artificial-nail procedures can thin and weaken it. AAD: Reducing artificial-nail damage Do not routinely buff away ridges or pursue a perfectly uniform texture before every press-on application. Follow the preparation required by the actual adhesive system.
Adjust a finished press-on only when permitted
A small edge adjustment can alter a French tip, remove a sealed area, or cut into decoration. Check whether the maker allows filing and where. If you need a substantial length or shape change, choosing the intended version is often more straightforward.
Dry-fit before modifying. A nail that is too curved should not be forced flat through extensive filing. Work only on the permitted area and inspect the edge afterward. If a crack appears or a detail becomes loose, set the nail aside rather than continuing to remove material.
Use controlled, light movements
Support the nail and make small changes, checking frequently. Do not press harder to compensate for a worn-out file. Avoid filing surrounding skin or continuing through discomfort, heat, or tenderness.
A file should not be used to pry under an attached press-on. Nor should a buffer be used to chase away adhesive residue when the removal directions call for another method. Keep shaping, preparation, and removal as separate tasks with their own instructions.
Keep files personal and follow care directions
Clean nail grooming tools before use, as CDC recommends. CDC: Nail hygiene A porous board and a reusable glass or metal file may have different care requirements. Do not assume soaking, boiling, or applying alcohol makes every file ready to share.
Follow the tool's stated cleaning or disposal method, keep personal files separate, and replace damaged or worn abrasives. For a basic press-on routine, a correctly chosen hand file used sparingly is more useful than a collection of coarse tools used at every step.