
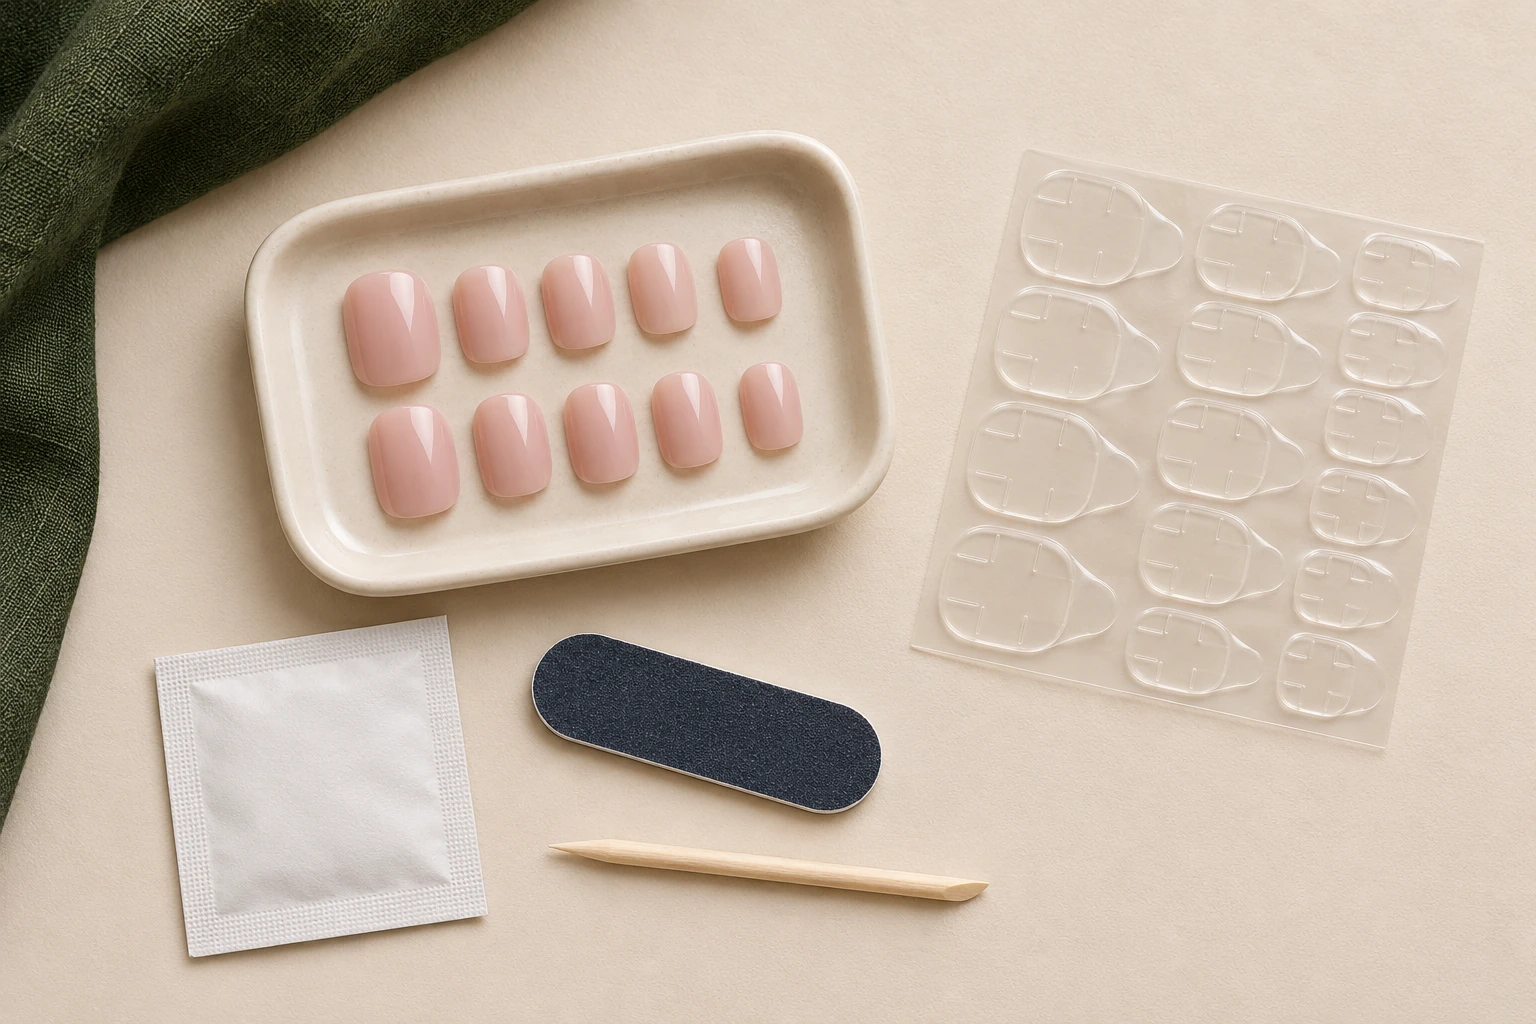
Adhesive nail tabs work best when the tip fits before the tab is added. Select each press-on first, prepare the surfaces as directed, and choose a tab that stays inside the intended contact area without overlapping skin.
Tab shapes and release liners vary. Read the package before peeling anything, especially if the directions specify whether the tab belongs on the natural nail or inside the tip.
Arrange everything before opening the backing
Lay the selected press-ons in finger order. Check which end faces the cuticle and rehearse the placement without adhesive. Keep the tab sheet on a clean surface where you can see the different widths.
Use the preparation products specified for your system. Avoid handling a freshly prepared nail with the pads of your fingers. Hand cream or oil used at this stage may be incompatible with the adhesive directions.
Select the tab by its contact area
Choose a tab that fits within the nail area designated by the instructions. It should not extend onto the surrounding skin or protrude from the sides. Do not use the largest available tab simply because it covers more space.
If none of the sizes fits, check whether trimming is permitted and how the maker recommends doing it. Stacking tabs to fill a gap changes the thickness and fit. A tip with a large curve mismatch needs a different fit solution.
Handle the release liners carefully
Peel the specified liner while leaving the adhesive surface untouched as much as possible. Place the tab where directed and smooth it using the prescribed method. Some products use two protective layers; make sure you remove the correct final liner before positioning the press-on.
A liner can look similar to a clear adhesive tab. If the surface still has a removable glossy film or a pull tab, check the instructions rather than pressing harder and hoping it will attach.
Place the tip in the rehearsed position
Align the tip with the natural nail’s direction and keep its cuticle end clear of skin. Set it down according to the product’s technique, then hold for the stated time. Use steady pressure within a comfortable range.
If the nail lands crooked, follow the correction directions. Repeatedly lifting and repositioning a used tab may leave it unsuitable for another attempt. Do not add liquid glue to a tab unless the system explicitly calls for that combination.
Check the result before starting your day
Look for exposed adhesive, a loose edge, or discomfort. A tip that pinches or rocks needs reassessment. Follow the product’s guidance on water exposure and removal; a universal waiting period does not apply to every tab.
Keep the FDA’s general advice to follow nail-product directions in mind when changing adhesive types. A method that worked with one pack may not match the next. Save your confirmed sizes separately from any used tabs so your next application starts with a clean record.