
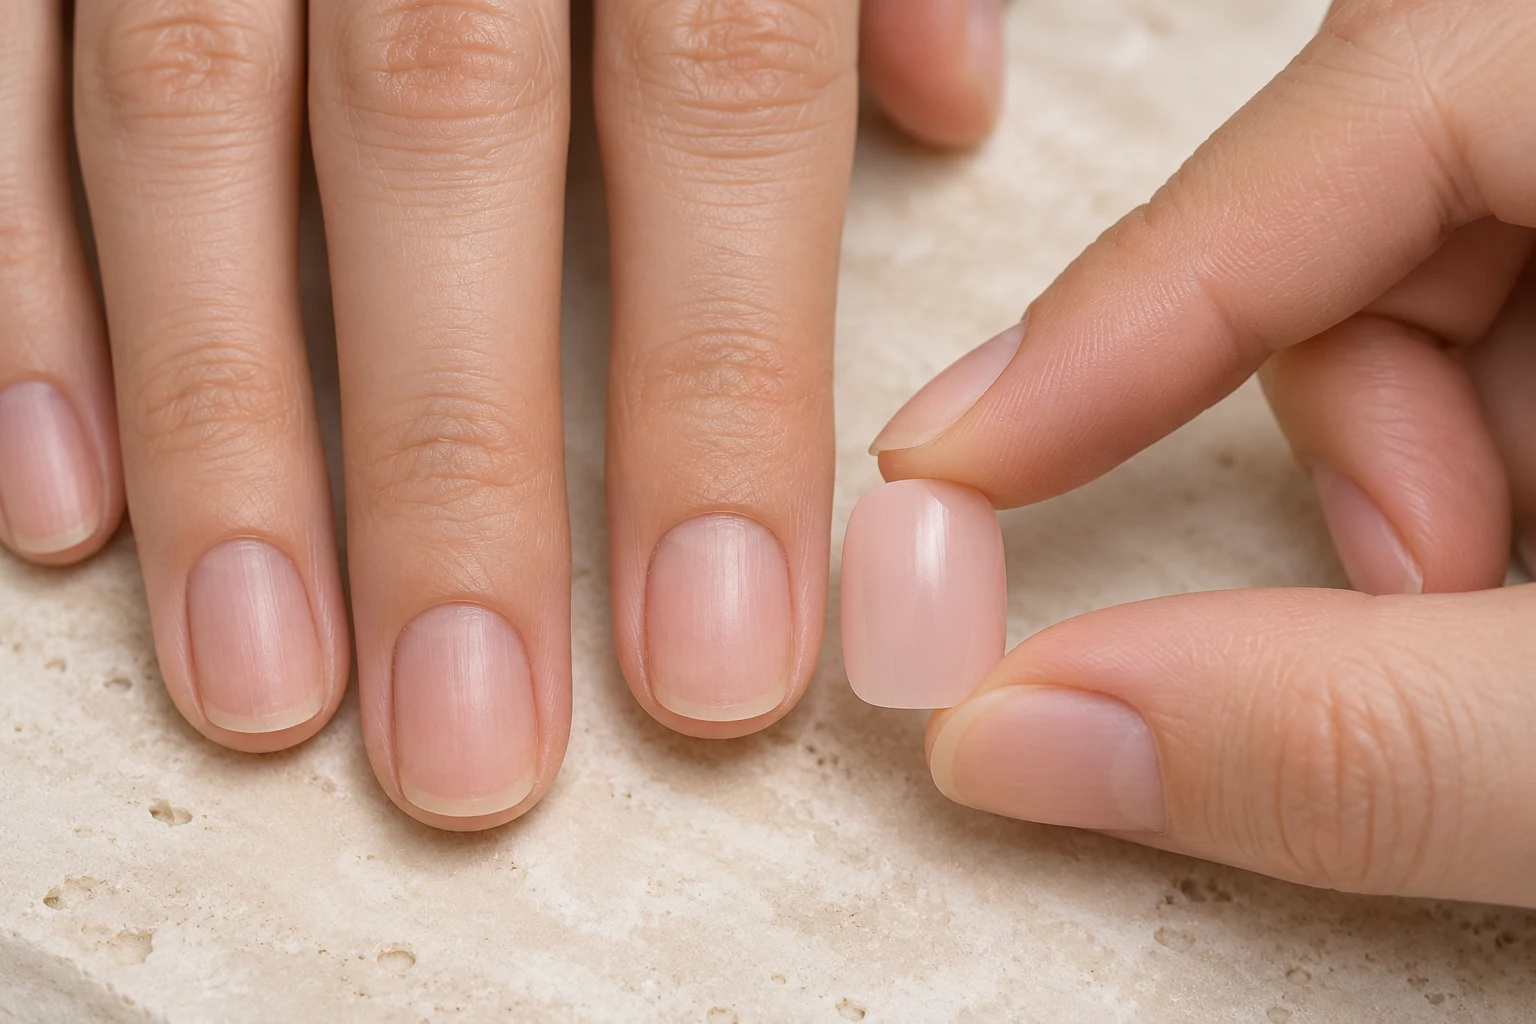
Apply glue-on press-ons with the adhesive supplied or specified for the set, following its amount, placement, and holding time. Dry-fit the nails first. Once liquid glue is open, you should already know which tip belongs on each finger.
A product sold as nail glue may differ from another in its instructions. Read the actual container and accompanying directions, including removal and spill guidance.
Prepare a controlled workspace
Work on a stable protected surface with good light and the ventilation the product requires. Keep children, pets, food, and unrelated objects away. Have the selected tips within easy reach so you do not need to search while holding a glued nail.
Check the cap and nozzle before use. Do not open a blocked nozzle with your teeth or aim it toward your face. Avoid squeezing a bottle hard to overcome an obstruction; follow its own opening and storage instructions.
Keep wet glue away from fabric
Many nail glues use cyanoacrylate. ANSES reports that cyanoacrylate can react with cotton or wool and release enough heat to cause burns. Do not use cotton pads or clothing to wipe up fresh liquid glue.
Plan around this before opening the bottle. Protect loose clothing and follow the product’s spill directions. If glue exposure causes injury or involves the eyes, obtain appropriate urgent assistance instead of continuing the manicure.
Use the amount and locations specified
Prepare the natural nails and tip surfaces as directed. Apply glue only where the instructions say to apply it. A generous puddle can spread beyond the nail when the shell is pressed down, so more glue is not a reliable way to improve a poor fit.
Keep the adhesive off the cuticle and surrounding skin. Do not use household glue or a light-cured product as an improvised substitute. A nail lamp is not an extra finishing step for ordinary nail glue unless the actual system requires it.
Place the nail along its natural direction
Use the position you rehearsed during the dry fit. Align the tip before committing it, then hold it with the pressure and timing stated on the label. Avoid rocking it from side to side while it sets.
If the nail shifts, pinches, or floods adhesive onto skin, stop and follow the product’s correction or removal method. Do not push a wooden tool into a bonded edge to straighten the shell.
Finish with an inspection
Check that each tip is comfortable, aligned, and free from obvious loose edges. Do not pour fresh glue beneath a lifted area as a final touch-up. An uncertain bond needs removal and assessment according to the adhesive instructions.
Close and store the glue as labeled. Keep the directions available for later removal and follow the stated restrictions on water exposure or handling. Record any fit problem before your next application so you can change the cause.