
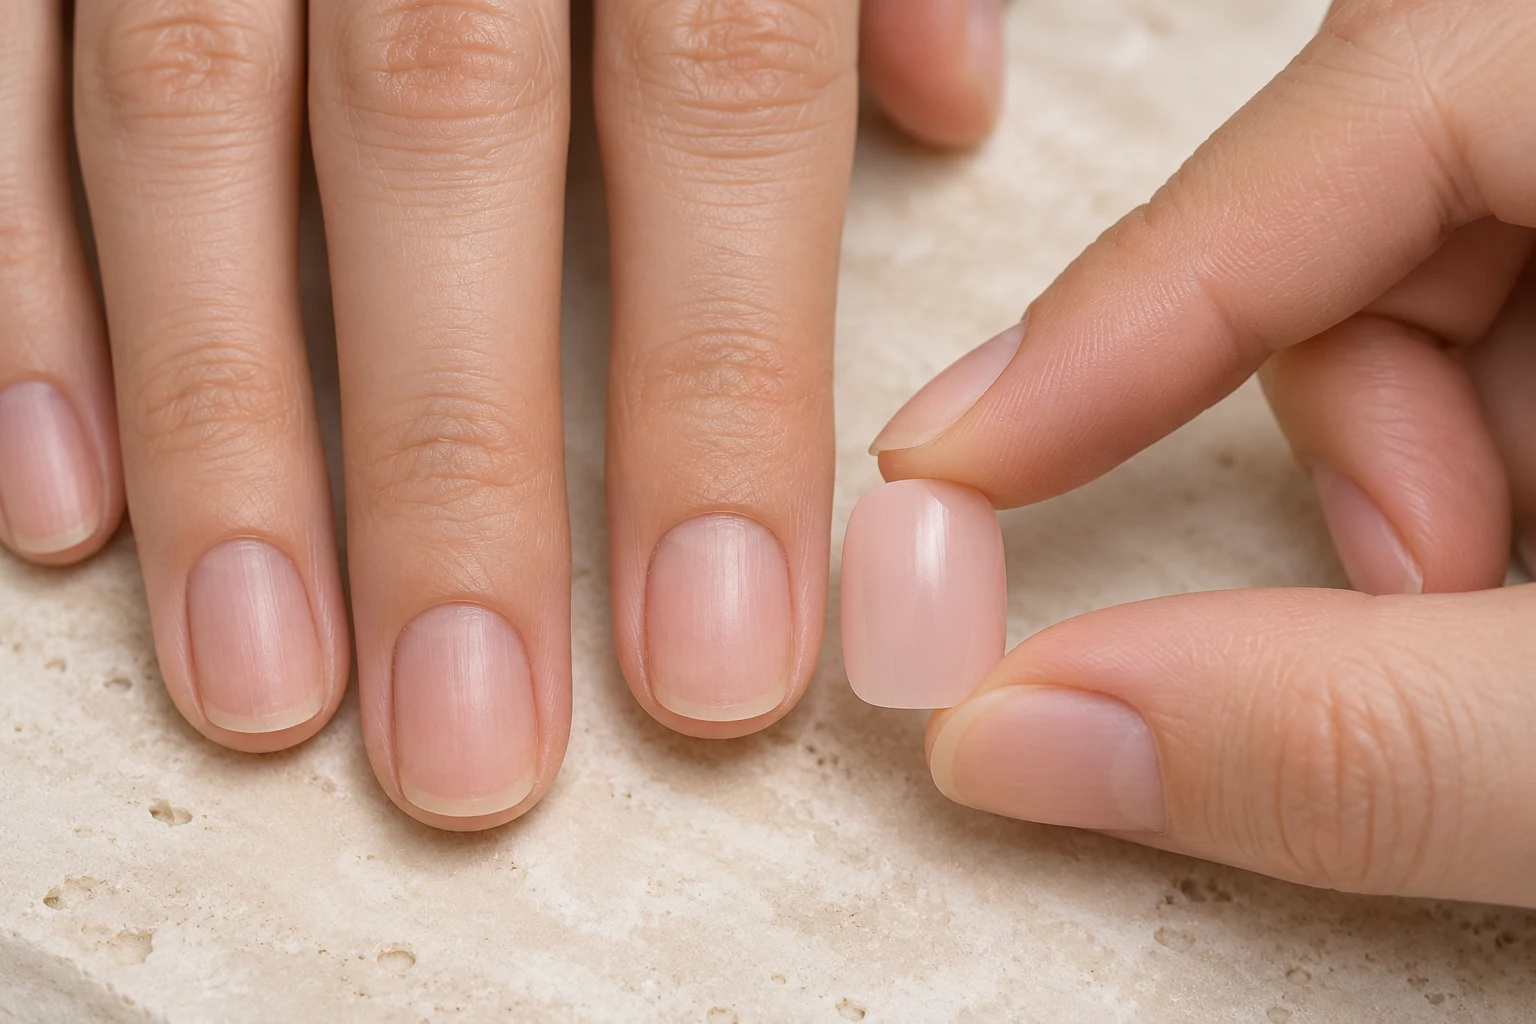
To avoid crooked press-ons, decide the alignment before adding adhesive. Check the nail from above and from the fingertip, then rehearse placing it in that position. A straight-looking tip should feel comfortable and follow the direction of the finger.
Do not rely on the printed design alone. An off-center stripe, asymmetric decoration, or angled camera view can make a correctly positioned tip appear crooked.
Check the shell and the finger together
Rest your hand in a relaxed position on a steady surface. Place the tip without adhesive and look along the finger toward its free edge. Compare the direction of the nail with the finger beneath it.
Natural nail beds are not perfectly symmetrical. Centering a tip between the visible sidewalls may give a different result from following a decoration’s center line. Aim for a placement that covers the natural nail, avoids skin, and works with your finger’s direction.
Fix sizing problems first
A tip that is too narrow may shift sideways as you try to cover one edge. A tip with the wrong curve may rock or need uncomfortable pressure. Those problems are harder to manage once adhesive is involved.
Try neighboring sizes during the dry fit. If the maker allows filing, make only the permitted adjustment and check again. Removing a little material from a side can change the appearance of the cuticle outline, so inspect the whole shape after filing.
Arrange the set in the right order
Lay the selected tips on a clean surface in left- and right-hand groups. Keep their cuticle ends facing the same direction. For an asymmetric design, confirm which pieces belong on which hand before you open adhesive.
Check whether a tip has a protective film or other part that must be removed. A slippery film can change how you grip the nail, and a decorative element may make the center harder to judge.
Support the application hand
Rest the receiving hand rather than holding it in the air. Bring the tip toward the natural nail using the placement method required for the adhesive. Keep your view unobstructed so you can see both side edges.
Follow the prescribed holding time and avoid making repeated small twists while the bond forms. If you struggle on your dominant hand, allow more setup time and rehearse that hand first without adhesive.
Know when to start again
If placement is wrong, use the product’s correction instructions. Do not bend or lever a bonded tip into line. With tabs, a fresh tab may be required; with glue, safe removal may be the next step.
Afterward, note the reason: incorrect tip order, a poor curve match, a blocked view, or an unstable grip. Changing that detail is more useful than simply pressing harder during the next attempt. Check neighboring nails together before considering the application finished.