When a press-on lifts, stop putting pressure on it and follow the adhesive’s removal instructions. Do not pour glue into the opening or force the edge back into place. The exposed area needs inspection before you decide whether another application is suitable.
A small lifted edge can catch hair, fabric, or equipment. Avoid repeatedly flexing it to find out how much remains attached.
Protect the finger from further snags
Pause the task you are doing, especially if it involves gripping, gloves, or long water exposure. Carefully free any caught fabric without pulling against the nail. Move to a stable surface where you can see the bond clearly.
Do not insert a sharp tool beneath the lifted edge. Even when part of the tip moves freely, another part may still be bonded. Prying can transfer force to the natural nail.
Identify the attachment method
Find the actual product directions. Adhesive tabs, liquid nail glue, and other systems can require different removal products and sequences. Use the recommended method for what you applied, not a familiar routine for another manicure.
If you cannot identify the adhesive or the nail is painful, seek suitable assistance. Do not experiment with a stronger solvent or keep pulling until it releases. A partly detached nail does not establish that the remaining bond is weak.
Remove without forcing the attached area
Follow the specified preparation, remover, and timing. Use only the tools and motion the instructions permit. If the tip resists, take the next directed step rather than increasing leverage.
Do not heat remover or improvise a solvent blend. Keep exposure away from eyes and follow ventilation and ignition warnings. Finish the removal in a suitable place rather than trying to repair it while traveling or working.
Inspect the uncovered nail
Look for damage, tenderness, or an unexplained change in the nail or surrounding skin. A photo cannot reliably distinguish staining, irritation, and infection. Avoid covering a concerning change with another tip.
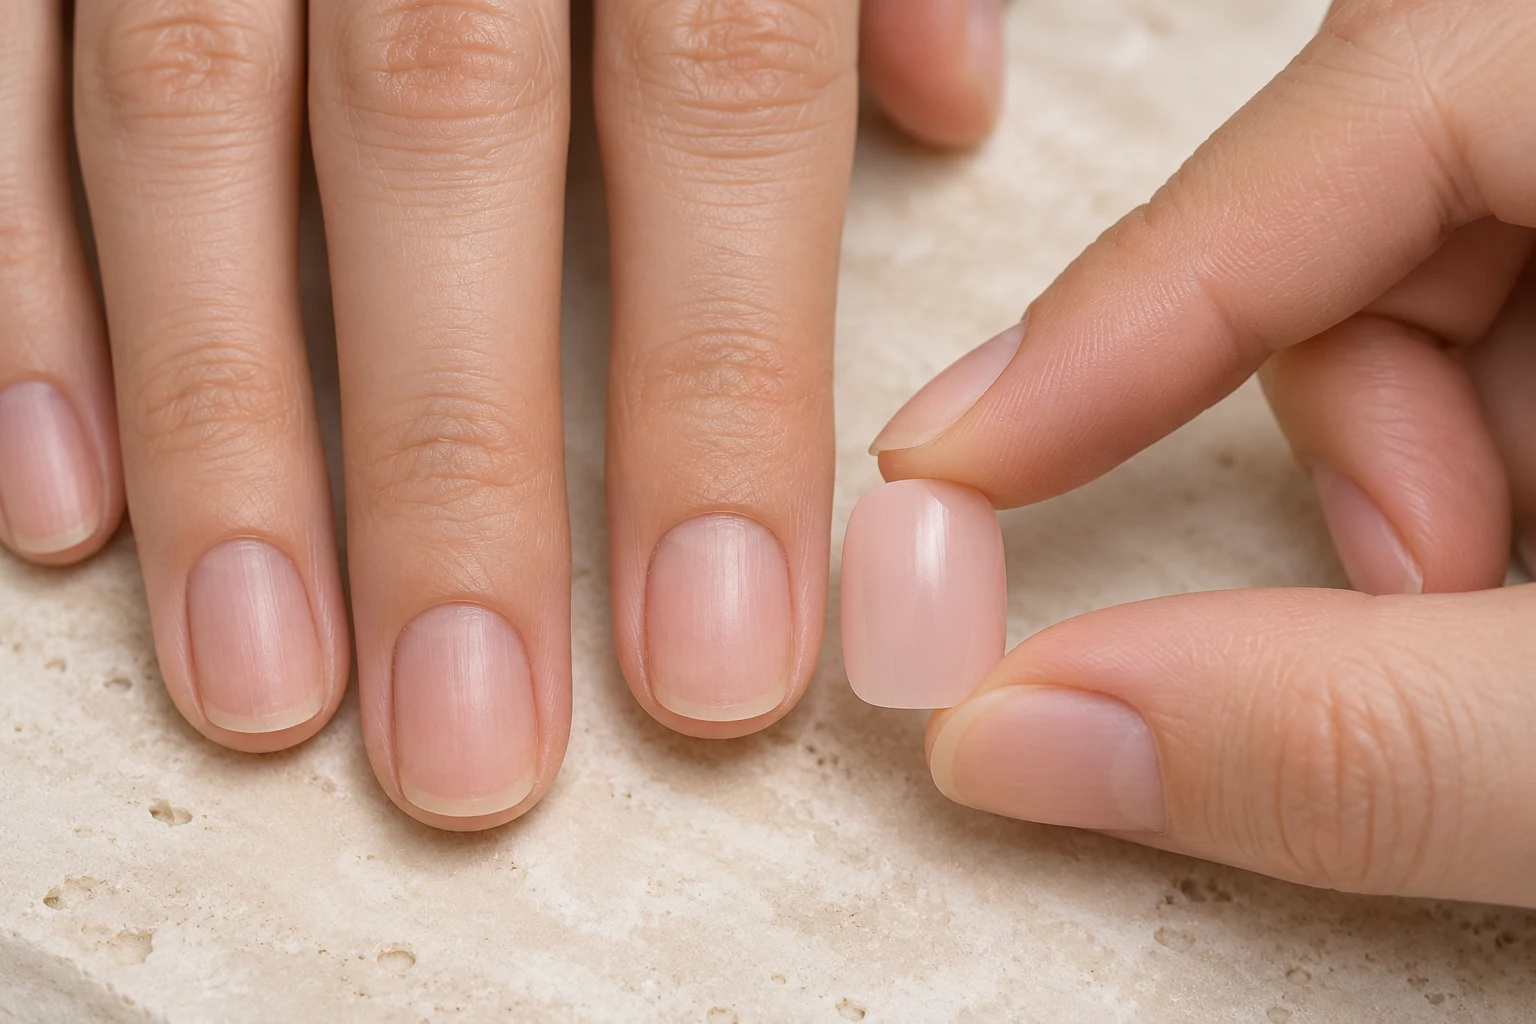
If the natural nail is comfortable and intact, check the removed tip’s underside and structure. A cracked or distorted shell needs replacement. A reusable tip still needs care according to its own instructions before fresh adhesive is considered.
Correct the likely cause
Repeat the dry fit and review size, curvature, preparation, and placement. Think about the task that preceded the lift. If one edge repeatedly catches, decoration height or length may need changing even when the width is correct.
Keep a short record so the next application is a controlled change. Repeated lifting accompanied by discomfort needs appropriate advice. Stronger glue, stacked tabs, and a fresh top coat are not general fixes for an uncertain bond.
Keep the removed tip labeled only if its care directions allow reuse and it remains in suitable condition after cleaning.