
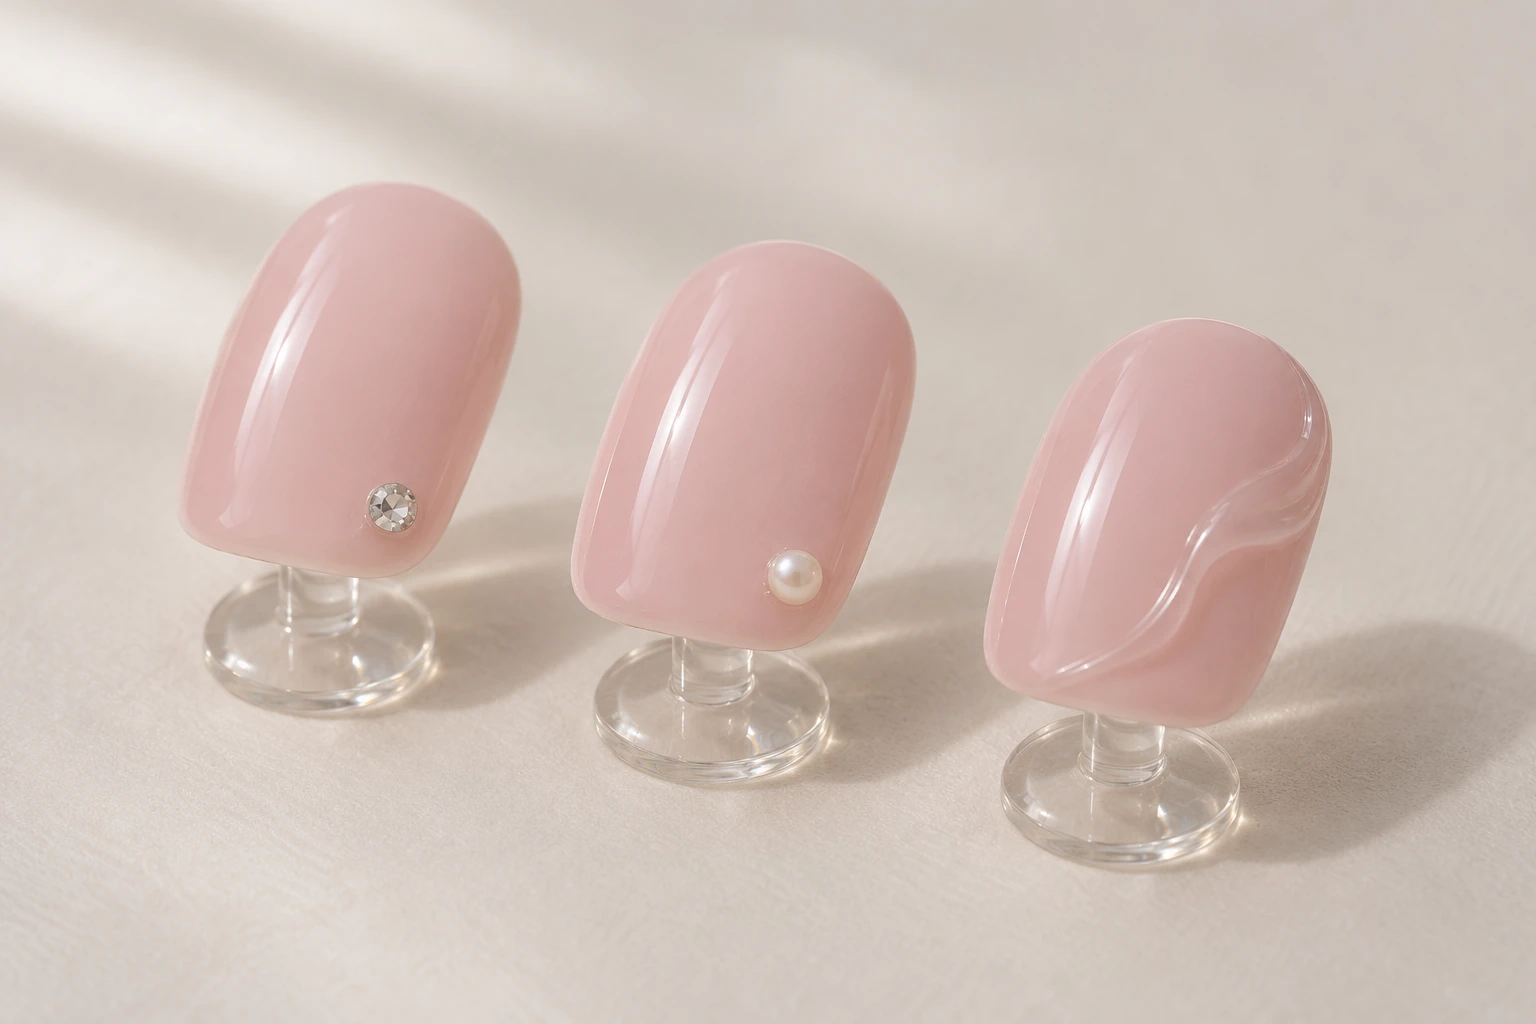
Press-on nail decorations range from flat artwork to raised gems, pearls, bows, and sculpted details. The useful differences are what sits above the surface, how far it projects, and where it is placed. A decoration's sparkle or style name does not tell you how firmly it is attached.
Start by looking at the complete nail from the top and side. A small detail can look large in a macro photograph, while a tall ornament may almost disappear in a straight-on view.
Flat art, embedded details, and raised pieces
Painted patterns, printed designs, and thin surface accents can create a decorated look without a prominent raised profile. Some small details are enclosed within a coating. Others sit distinctly above it as separate pieces or sculpted forms.
These categories describe what you can observe, not a universal manufacturing process. A photograph of a raised flower may not reveal whether it was shaped directly on the nail, attached as a finished piece, or assembled from several elements. Ask for construction information if that distinction matters to you.
Gems and pearls describe different shapes
A faceted gem gives small flashes from its angled surfaces. A pearl-style bead has a rounded, smoother appearance. The words rhinestone and pearl are not sufficient material specifications for a nail ornament.
Check whether the seller identifies glass, resin, another polymer, metal, or a coating. A shiny clear piece should not be assumed to be a particular crystal. Likewise, a pearl-like bead does not need to be a natural pearl to create the intended design.
Bows, flowers, and sculpted texture
A bow can be a compact raised accent or a wide piece with loops extending beyond the nail. Flowers may be printed, flat appliqués, or substantial three-dimensional petals. The name alone does not tell you which version is included.
Look for the points where a detail meets the nail. Consider whether the outer edges or projecting corners will encounter your clothing, hair, or work tasks. A side view is particularly helpful for comparing two designs that look similar from above.
Placement changes everyday use
A raised decoration near the center can feel different from one close to the free edge or sidewall. On a smaller nail, the same ornament occupies more of the available space. Check that the design is shown on the sizes you are likely to wear.
If you are new to raised art, a single low accent is an easy way to learn your preference. You can keep the remaining nails plain and see how the decoration fits your routine. That is a styling choice, not a guarantee against catching or damage.
Inspect before attachment
Before using adhesive, check each decorated nail for visible cracks, sharp edges, missing pieces, or a component that moves during ordinary gentle handling. Do not pull or bend a decoration as a homemade strength test.
Set aside anything that appears damaged and ask the supplier how to proceed. Adding household glue or an unapproved clear coating can change the product and introduce new problems. Choose decorations for the look and profile you enjoy, then use the care and removal instructions for that finished set.