
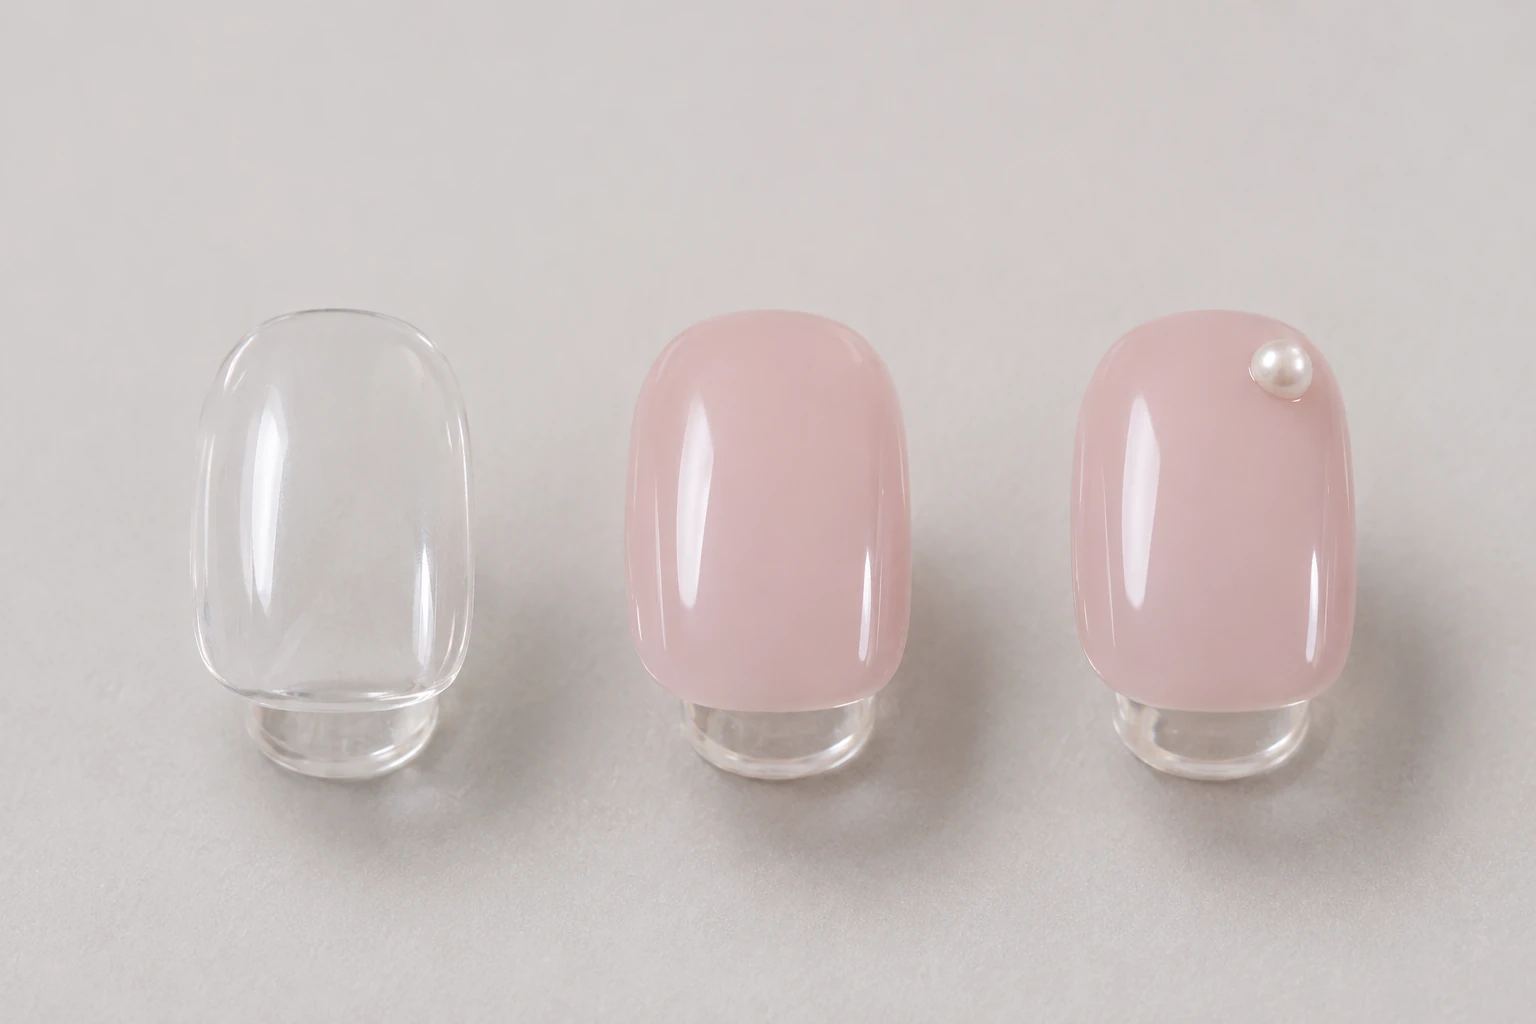
Sheer press-on nails let some of the background show through. Opaque nails cover it more completely. Between those ends are many levels of translucent color, and descriptions such as milky, jelly, or natural do not tell you exactly how much you will see through a particular set.
Choose coverage around the look you want and the application system you will use. Transparency is an appearance feature; it does not, by itself, tell you the nail's material, flexibility, or durability.
What sheer color looks like on a hand
A sheer pink may look almost clear when held against a bright background and more pink over a natural nail. The free edge of your own nail can remain visible through it. That can be part of the design rather than a fault.
Because the background contributes to the result, the same loose press-on can appear different on different hands. A photo of a nail on a white display card is useful for seeing artwork, but a worn view is usually more informative about coverage. Look for both when shopping for a translucent style.
What opaque color changes
An opaque finish makes the top color look more uniform across the nail bed and extension. It is a useful starting point if you want a solid block of color or do not want the natural free edge showing through.
Opacity can also hide details below the surface, including uneven adhesive contact. That does not make it a fit solution. Check size, curvature, and the manufacturer's application requirements before attaching the nail, even when the finished color will conceal the underside.
Adhesive may be visible through sheer nails
Clear is not the same as invisible. Depending on the products, an adhesive tab's edge, an air pocket, or a difference in contact can be noticeable under a translucent press-on. A thick layer of glue is not a reliable way to make those marks disappear.
Before applying anything, check which adhesive the nail is designed to use and how the instructions address sheer styles. Follow the stated amount and pressing method. If a set's appearance depends on a particular attachment system, confirm that information before buying a separate adhesive.
Do not use transparency as a curing test
A nail that looks see-through to your eye has not necessarily been validated for a light-cured adhesive. Color, decoration, thickness, the adhesive, and the lamp all matter to the system. Only use a curing product with the nails and lamp specified for it.
For ordinary non-curing glue or tabs, a lamp does not turn the application into a gel extension service. Keep the instructions for the adhesive you actually have separate from techniques shown for other systems.
How to compare two listings
Look for a view against a neutral background, a close view on a hand, and a description that clearly says sheer or opaque. In a video, watch the nail when it moves out of the brightest reflection. A white glare can temporarily conceal how translucent the color is.
If the evidence is still unclear, ask a concrete question: will the natural white free edge show through this color? That is easier to answer than whether the nail looks natural. For your first sheer set, select a design whose visible nail bed and edge you already like, rather than expecting adhesive to change its coverage.